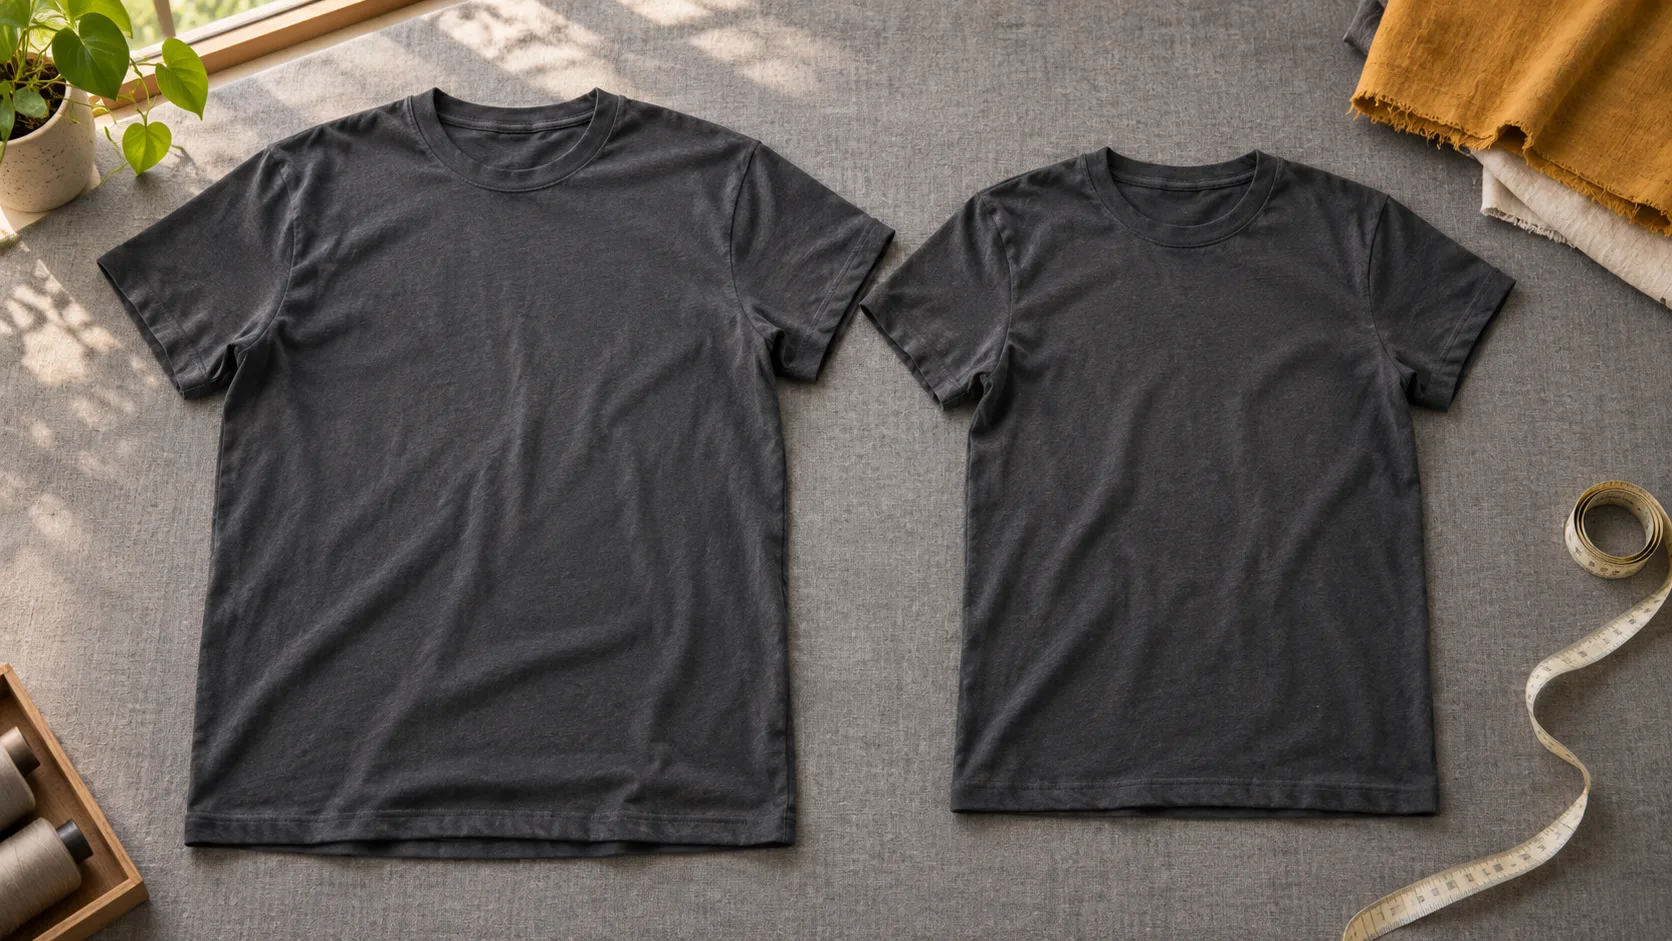
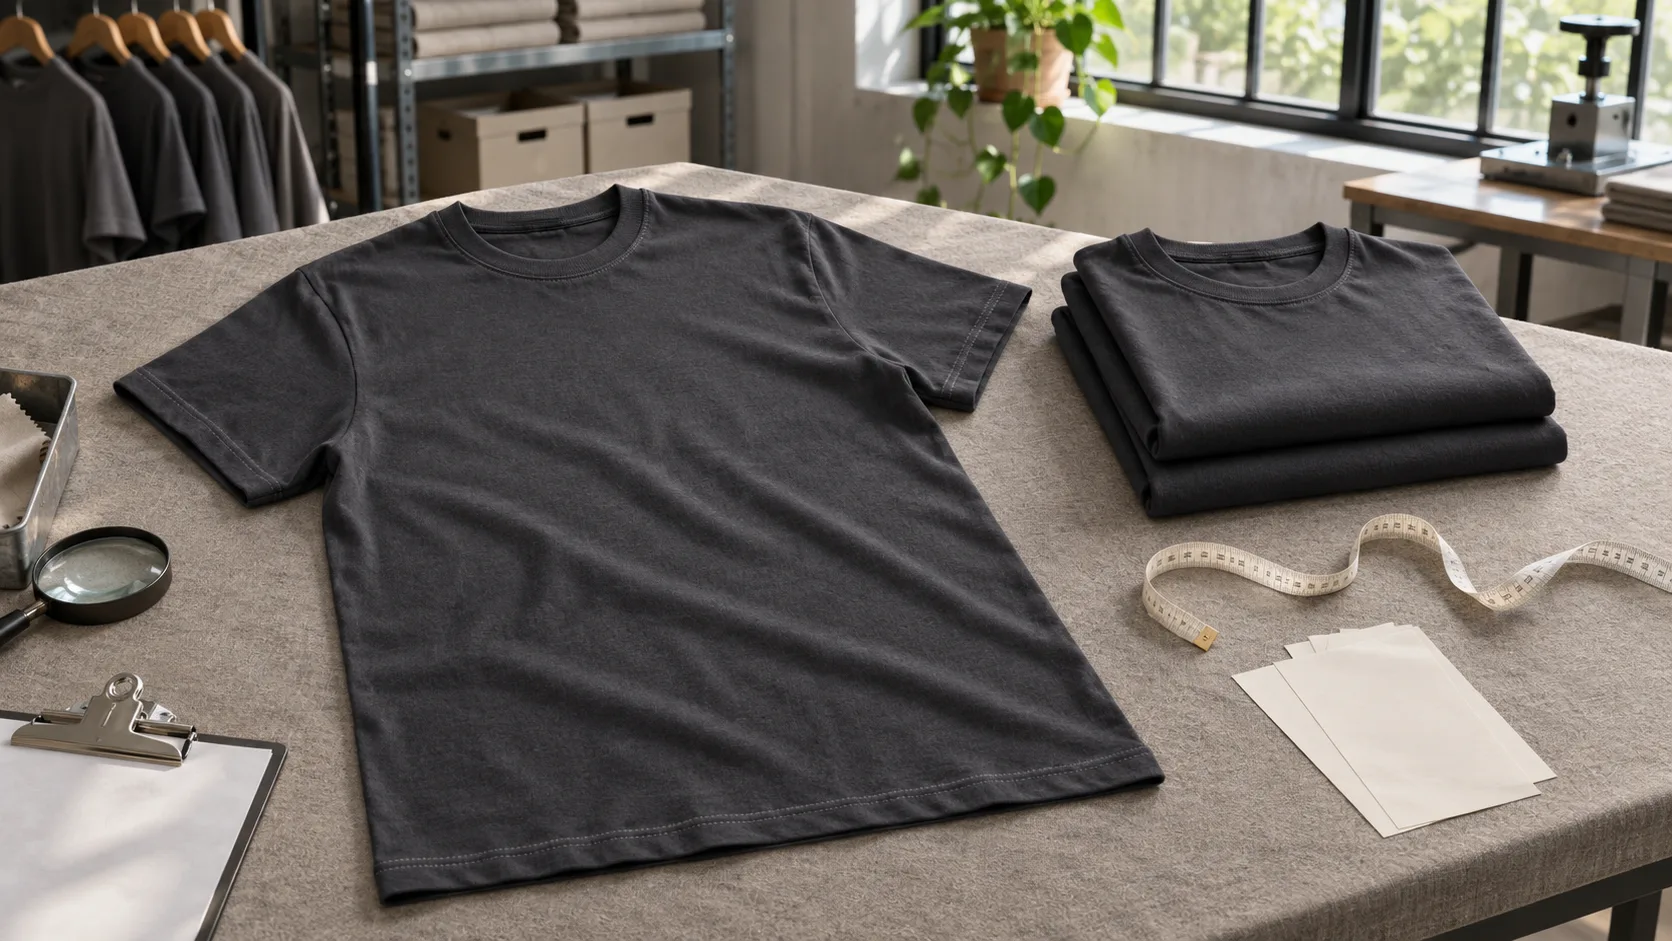
An approved sample gives everyone a garment to refer to. Bulk inspection still requires decisions the sample cannot answer by itself. Which sizes and colors should be checked? How much can a measurement differ? What happens if several shirts from one carton show the same issue?
Answer these questions before inspection starts. A short checklist tied to the approved sample, measurement sheet, and order details gives the buyer, supplier, and inspector a common basis for making decisions.
1. Gather the references the inspector will use
Identify the approved sample by style code, size, color, and revision. Put it alongside the current measurement sheet, approved artwork, and order breakdown. If the sample still has a detail that was changed after approval, attach the written change and identify which reference takes precedence for that detail.
For instance, the physical sample might show an earlier print placement while a signed artwork sheet specifies the final position. Make that exception visible at the inspection table. Otherwise, two people can review the same shirt and reach different conclusions while each follows a reference they believe is current.
Keep these references together in a single inspection packet. Give the inspector enough information to identify the exact version without searching through messages.
2. Decide how garments will be selected
Agree on the inspection scope, selection method, and acceptance rules before garments are picked. If a third party will inspect the order, share the agreed plan with them and confirm how they will report their findings.
Use the order breakdown to identify sizes, colors, and any separate production groups that need coverage. If the order is already packed, record which cartons were opened. Select garments across the agreed groups, including variants where a problem would be easy to miss, such as a dark print on a dark shirt or a size sticker used on several similar packages.
Keep targeted checks identifiable in the report. If you open additional cartons because you found a recurring problem, record that as a follow-up check so readers can distinguish it from the initial selection.
3. Turn visual expectations into checks
Work through each sampled garment in a consistent order. Look at the front, back, sleeves, and inside seams. Check the neckline, hem, print, and identification marks against their respective references.
Write criteria an inspector can apply. “Good stitching” is too broad. “Check both underarm seams for openings and photograph any opening with its location marked” directs attention to a specific condition. Where an issue is subjective, such as whether a print looks visibly tilted, agree on a comparison method or an example that requires review.
For prints, include the design version, orientation, and placement reference. Measure from the same seam or garment point shown on the approved artwork sheet. If a placement rule varies by size group, make that distinction explicit on the checklist.
4. Record measured values against size-specific limits
Measure garments using the agreed points and method. If chest width is taken with the shirt laid flat, record it as a flat width and use the same convention throughout. Compare each item with the specification for its labeled size.
Here is a hypothetical example of how a single point might be recorded.
| Size | Measurement | Target | Agreed tolerance | Actual | Result |
|---|---|---|---|---|---|
| M | Flat chest width | 56.0 cm | ±1.0 cm | 55.4 cm | Within range |
| L | Flat chest width | 59.0 cm | ±1.0 cm | 57.8 cm | Outside range |
| These values illustrate the recording method. Set the targets and tolerances for your own style before inspection. Keep the actual measurements in the report so the team can tell whether deviations are isolated or consistently in one direction. |
If a result is close to a limit and the measurement method is unclear, resolve the method and document the recheck. Keep the original reading alongside the new one.
5. Record defects so the affected goods can be found
For each issue, record the garment reference, size, color, carton or lot identifier where available, defect location, and a photo. Take one image that identifies the garment or relevant area and another that shows the issue clearly. For a measurement problem, include the measurement setup when it helps explain the finding.
Distinguish the number of affected garments from the number of observations. One shirt can have both a misplaced print and an open seam. If you encounter the same issue on several shirts, check whether those pieces share a size, carton, or production group. That pattern can help determine which goods should be held and checked.
6. Agree on what happens after a failed check
Record who can accept a deviation, who handles sorting or correction, and which items need to be reinspected. If a size sticker is wrong, the follow-up should include matching the corrected package to the garment inside. If an underarm seam was repaired, check the repaired seam and the surrounding area.
Close the issue against the original report. Note which goods were corrected or separated, the date of the reinspection, and any remaining exceptions awaiting a decision. Keep that record with the approved sample details and order documents so a repeat order can use the same criteria or a clearly identified revision.
When preparing a custom T-shirt inquiry with GRAPHFORGE, share your approved reference, size chart, and the checks that matter most to your collection. Those details give both sides a starting point for discussing how the finished order will be reviewed.
Ready to start your production run?
Send us your design, quantity and target delivery date. We will reply with a clear quote and a sample timeline within 48 hours.