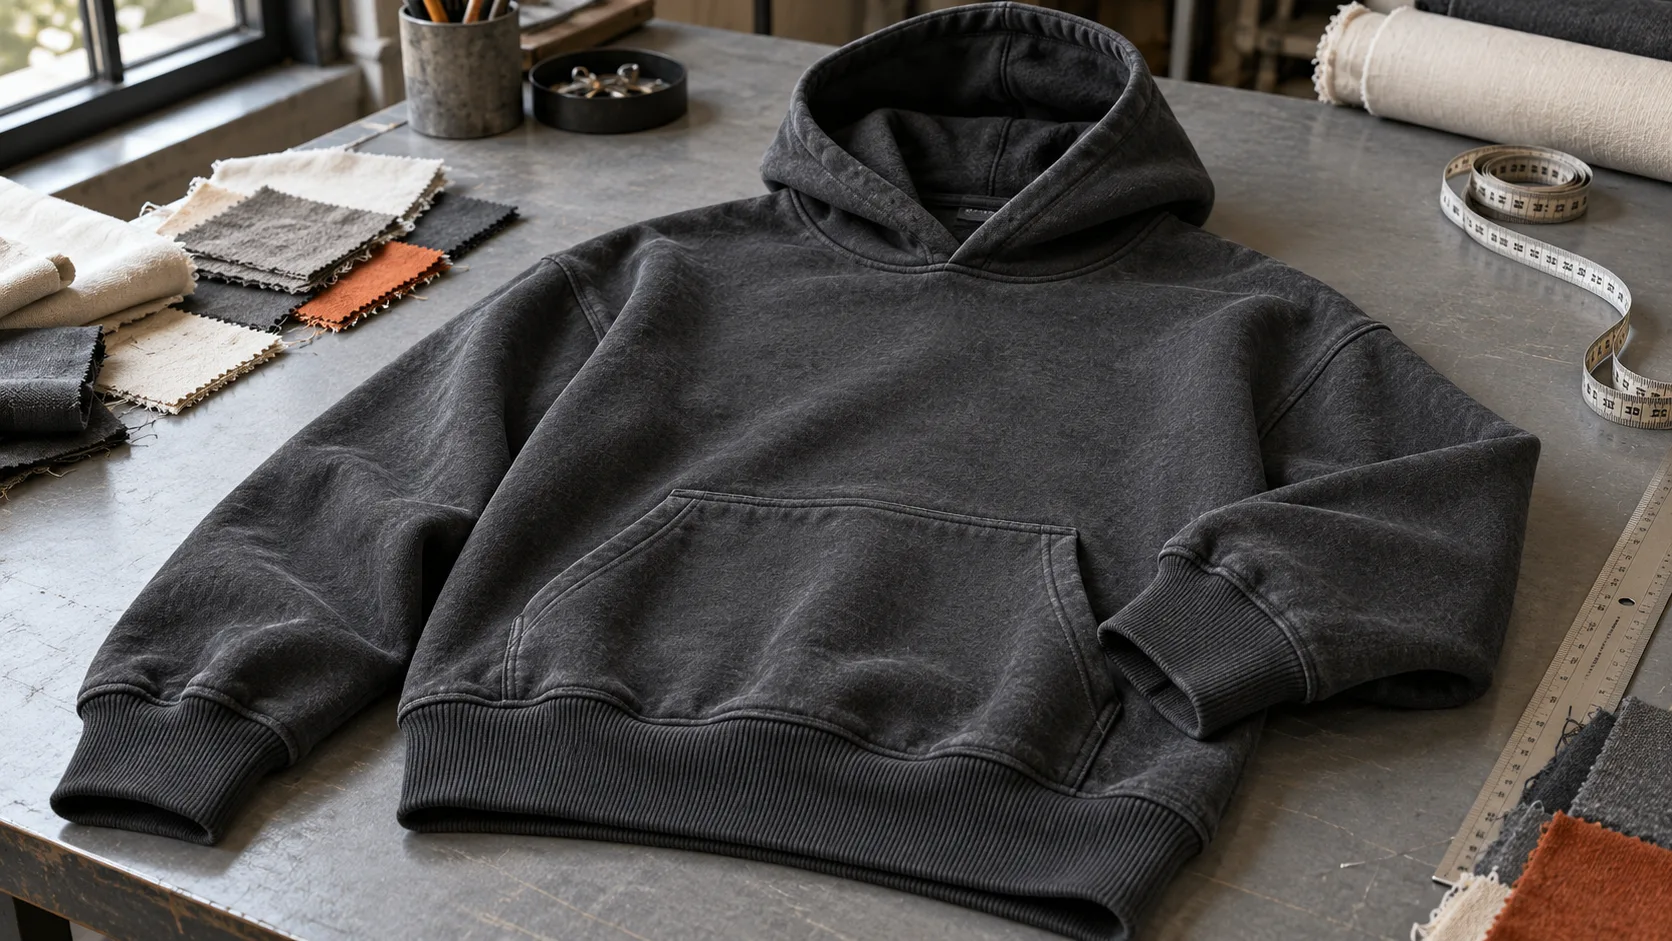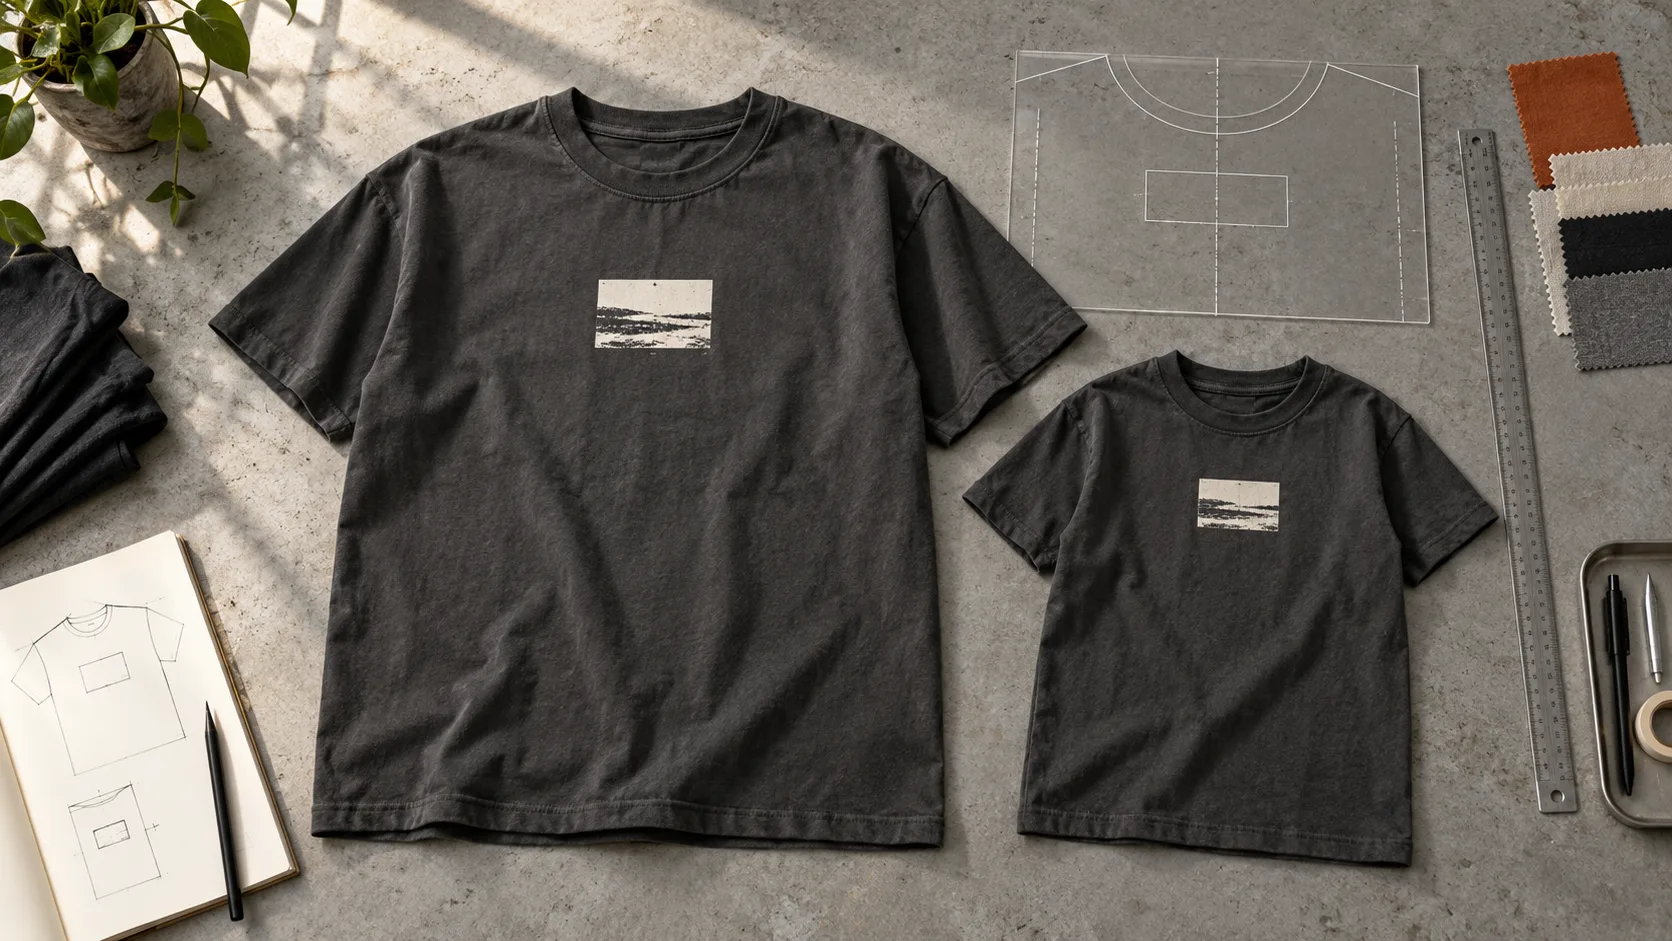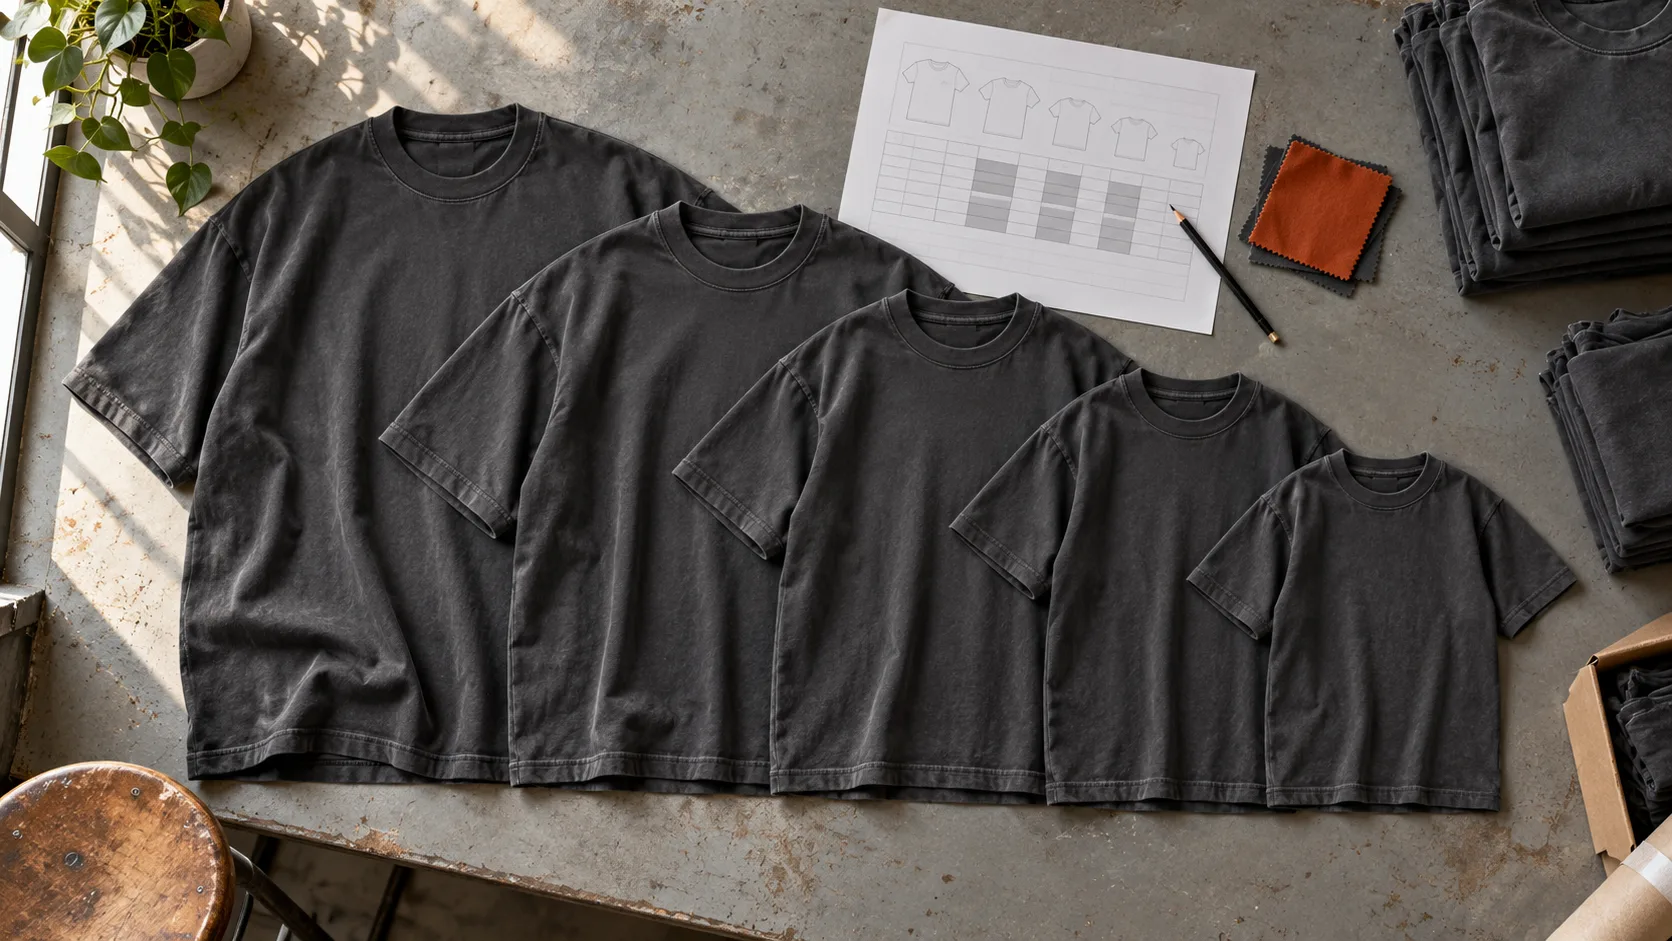
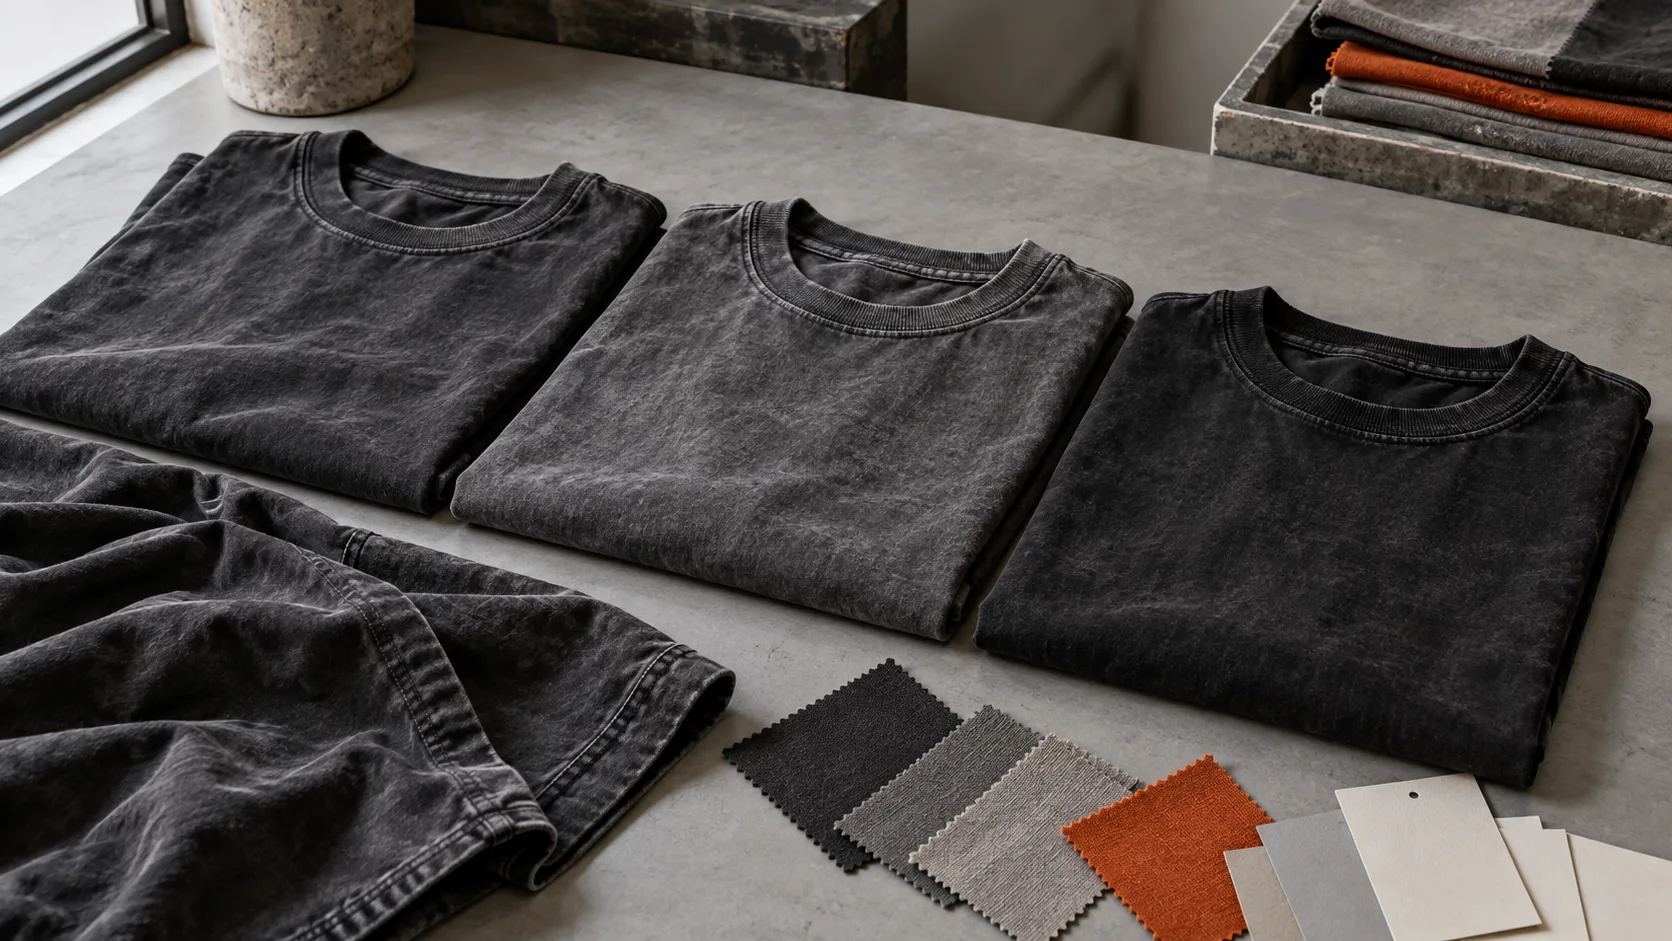
A washed black T-shirt can look different from another washed black T-shirt without either garment being incorrectly made. The difficulty is deciding which differences belong to the intended design and which fall outside the agreed result.
Terms such as “vintage black,” “heavily faded,” and “soft wash” communicate a direction, but they do not establish a complete approval standard. A brand may imagine gentle fading around seams while the manufacturer understands a stronger, more irregular surface effect.
Before bulk production, create a shared reference for color and wash appearance. This guide explains how to document that reference without expecting an intentionally variable finish to behave like a perfectly uniform solid color.
1. Separate Overall Color from the Wash Effect
Start by describing the garment’s overall color independently from its surface treatment.
Overall color concerns the general tone you want to see. The wash effect concerns how fading, contrast, and variation appear across the garment. Two samples can have a similar average tone while showing very different patterns of contrast.
Review these elements separately:
- Overall lightness or darkness.
- Any noticeable warm or cool cast.
- Contrast between faded and darker areas.
- Appearance around seams, edges, and folds.
- Distribution of the effect across the garment.
This structure makes feedback more useful. Instead of “make it more vintage,” you can explain that the overall tone is approved but the contrast around the seams needs revision.
2. Ask How the Proposed Appearance Will Be Produced
A reference photograph does not explain the process behind a finish.
Ask the manufacturer whether the proposed appearance depends on fabric selection, dyeing, garment washing, printing, or a combination of processes. Clarify which parts of the reference can be reproduced and which may differ with the selected material.
Do not treat a process name as a guarantee of one exact appearance. Ask to review an actual development sample using the intended fabric and construction.
If the material or process changes during development, revisit the appearance approval. A reference approved for one combination should not automatically authorize a different one.
3. Choose a Physical Approval Reference
Use a clearly identified physical sample as the main appearance reference wherever possible.
Label it with the style, color name, sample version, review date, and approval scope. Record whether it represents the intended finished garment or an intermediate development stage.
Photographs remain useful for communication, but screens, lighting, and camera processing can change how a color appears. Avoid making subtle color decisions from an edited phone photograph alone.
Where both parties retain reference samples, confirm how they are related. Record whether they came from the same development batch and whether any visible difference between them has been acknowledged.
4. Define an Acceptable Appearance Range
For a deliberately variable finish, one sample may not explain the full range you are willing to accept.
Discuss whether a small set of physical references would help establish the boundaries. You might review examples representing the approved direction and the lightest or darkest acceptable appearance.
Treat those descriptions as project-specific decisions. There is no universal acceptable shade range for every washed streetwear product.
Explain which characteristics may vary and which must remain controlled. For example, you may allow some variation in the fading pattern while rejecting a noticeably different overall color cast. Agree on the approach before production rather than creating the rule during final inspection.
5. Identify Unacceptable Conditions Separately
An acceptable range should not become a blanket excuse for every irregularity.
Create a separate list of conditions that require review or rejection. Depending on the product, these could include unintended holes, unwanted marks, damage to graphics, or a result clearly outside the approved appearance references.
Distinguish intentional design features from accidental damage. If distressing is part of the brief, document its intended areas and appearance rather than approving “distressing” without further detail.
Ask the manufacturer to confirm the proposed criteria and raise any unclear points. Both parties should understand the difference between an approved variation and a defect.
6. Review the Complete Garment
Do not approve the main body color while ignoring the components attached to it.
Review the neckline rib, cuffs, waistband, pocket, drawcord, labels, and graphics where relevant. Decide whether these should match closely, contrast intentionally, or follow another approved direction.
Also check the front, back, and sleeves together. A garment can look acceptable in one cropped photograph while showing an unwanted difference elsewhere.
For coordinated sets, review the actual items together. Do not assume a T-shirt and hoodie will look identical simply because they share a color name. Different materials or constructions may require separate development and approval.
7. Agree on Review Conditions and Timing
Set a consistent method for visual comparison.
Use the same agreed lighting setup, present garments in a comparable way, and identify the reference against which each sample is being assessed. Avoid comparing one garment in direct sunlight with another under a different indoor light.
Confirm that samples are in the condition intended for approval. Specify whether the review takes place after the relevant washing, drying, and finishing steps.
Agree when checks will happen during production and what action is required if a result falls outside the approved range. A clear escalation process is more useful than discovering a disagreement after everything has been packed.
8. Keep a Written Approval Record
Combine the decisions into one current approval sheet containing:
- Style, fabric, and color reference.
- Physical sample identification.
- Approved finish description.
- Characteristics allowed to vary.
- Appearance boundaries and reference examples.
- Unacceptable conditions.
- Review conditions and inspection stages.
- Approval date, responsible contacts, and open issues.
Keep the written sheet connected to the physical references and supporting photographs. If a later revision changes the target, identify the replacement clearly so an older sample is not accidentally used for production approval.
Discuss Your Washed Streetwear Project with GRAPHFORGE
When preparing an inquiry, share your reference images, intended garment type, fabric preferences, and the aspects of the washed appearance that matter most to your brand.
Explain whether your priority is a restrained overall fade, stronger surface contrast, or another specific visual direction. GRAPHFORGE can review your project requirements and discuss development options and sampling feasibility.
Ready to start your production run?
Send us your design, quantity and target delivery date. We will reply with a clear quote and a sample timeline within 48 hours.