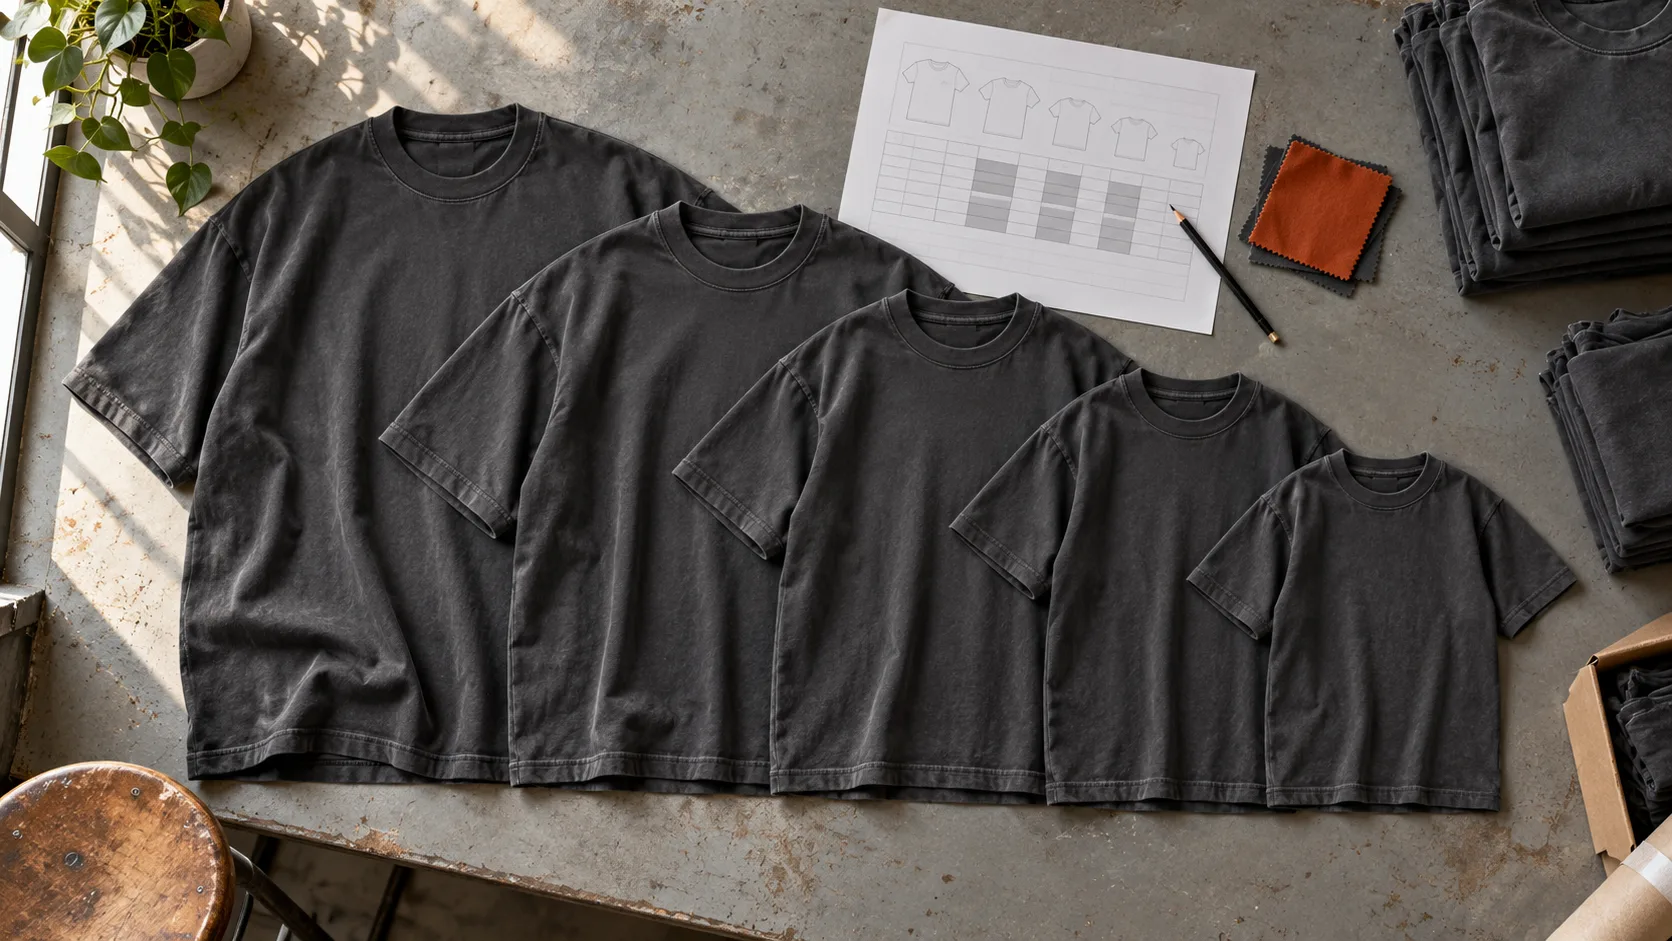
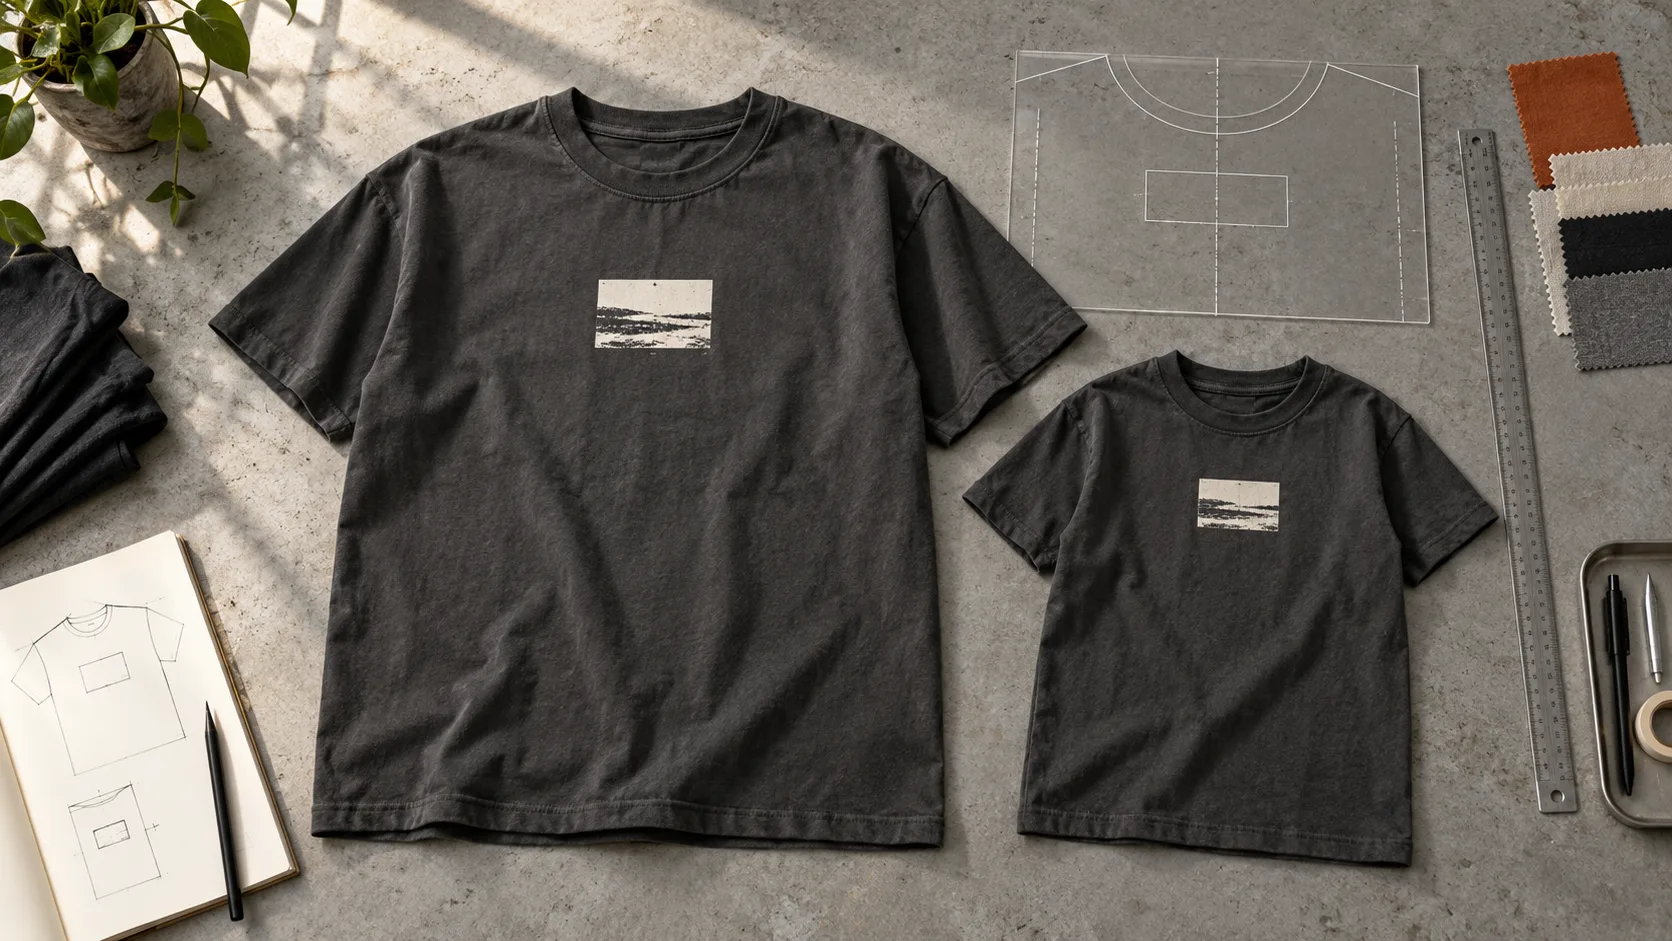
A chest graphic can look balanced on a medium T-shirt but appear much smaller on an oversized XXL. A large back print may suit the largest garment in a collection while sitting too close to the side seams on the smallest.
These differences raise an important question: should the artwork stay the same size across the entire size range, or should it change?
There is no single answer for every collection. The practical choice depends on the intended appearance, garment measurements, artwork, and production method. Before approving a sample, establish both the graphic dimensions and the placement rules for the sizes you plan to order.
1. Separate Graphic Dimensions from Graphic Position
Print size and print placement are related, but they are different specifications.
Graphic dimensions describe the width and height of the artwork. Placement describes where that artwork sits on the garment.
For example, “a centered chest print” does not specify its width or its distance from the neckline. Similarly, providing a print width does not tell the manufacturer how high or low to position it.
Document both elements separately. State the artwork dimensions, identify the measurement references, and attach a front or back placement drawing. This reduces the need to interpret a reference photograph.
2. Decide Whether the Artwork Uses One Size or Several
One option is to use the same graphic dimensions across all garment sizes. This can suit a collection where a consistent physical logo size is part of the design.
Another option is to define different artwork dimensions for selected size groups. For example, a brand might review one print size for smaller garments and another for larger garments.
Neither approach should be assumed automatically. Ask the manufacturer how your preferred arrangement affects artwork preparation, printing setup, and the quotation.
If you choose size groups, list the exact garment sizes assigned to each group. Avoid instructions such as “make the print bigger for large sizes” without explaining which sizes change and by how much.
3. Review the Smallest and Largest Garments
A sample in the middle of the size range does not show every possible placement issue.
Review how the proposed artwork fits the smallest and largest garments. Check the available panel width, distance from seams, and relationship between the graphic and the overall silhouette.
For oversized or dropped-shoulder garments, also consider how the design appears when worn. A print that looks centered on a flat garment may interact differently with folds and the wearer’s body.
Start with size-specific placement drawings. Where the visual balance or production feasibility remains uncertain, discuss whether additional physical samples or print trials are needed before approving the full range.
4. Define a Clear Vertical Measurement Reference
A placement note needs a repeatable starting point.
For a back graphic, you might specify the distance from a defined neckline seam point to the top of the visible artwork. For another design, a different reference may be more appropriate.
The important point is agreement. Identify the exact seam or point and explain whether the measurement ends at visible ink, an artwork bounding box, or another defined boundary.
Transparent margins in an artwork file can create confusion if one person measures from the file edge while another measures from the printed image. Include a marked illustration showing the intended start and end points.
5. Confirm Horizontal Alignment
“Centered” should identify what is being centered and against which reference.
A symmetrical graphic may be positioned using the garment centerline. An asymmetrical illustration can require a design decision about whether to center its overall boundary or its main visual element.
Make that decision before production. Do not expect the printing team to independently choose the visual balance you intended.
For off-center chest graphics, record the horizontal reference and distance. Check that the placement remains appropriate across the garment sizes involved rather than relying only on the position shown in one mockup.
6. Treat Sleeves and Pockets as Separate Placement Areas
Sleeve graphics, pocket prints, and designs near seams need their own instructions.
Specify the relevant garment side, artwork orientation, dimensions, and distances from clearly identified construction points. A sleeve design should also state how it is intended to appear when the arm is relaxed.
Ask the manufacturer to review the proposed position against the actual garment construction and printing method. A digital drawing does not establish that a print can be applied cleanly in every location.
If the design approaches a seam or pocket edge, confirm the practical limitations during sampling rather than leaving that decision until bulk production.
7. Review Graphics with the Intended Finishing Process
If a garment will be washed, dyed, or otherwise finished, discuss how the print and finishing sequence will be handled.
Do not assume that a graphic approved on an unfinished garment will look identical after the remaining processes.
Review the relevant sample in its intended finished condition. Check graphic dimensions, position, surface appearance, and the relationship to the final garment measurements.
Where a finish intentionally creates variation, agree on what range of appearance is acceptable. Record which sample or reference represents the approved result.
8. Create a Print Placement Sheet
Prepare one current document for each style containing:
- Style reference and garment color.
- Artwork file name and revision.
- Print location and garment side.
- Artwork width and height.
- Garment sizes or size groups covered.
- Vertical and horizontal measurement references.
- A marked placement drawing.
- Agreed placement tolerances.
- Approval date and unresolved points.
Ask the manufacturer to confirm the proposed tolerances rather than inserting an arbitrary allowance. Keep the approved sheet connected to the final artwork files so an older graphic is not paired with newer placement instructions.
Discuss Your Graphic Layout with GRAPHFORGE
For your next custom streetwear inquiry, share your artwork, garment measurement chart, intended size range, and placement drawings with GRAPHFORGE.
Explain whether maintaining one physical graphic size or a similar visual proportion matters more to your collection. These details provide a clearer starting point for discussing sampling, printing options, and production feasibility.
Ready to start your production run?
Send us your design, quantity and target delivery date. We will reply with a clear quote and a sample timeline within 48 hours.