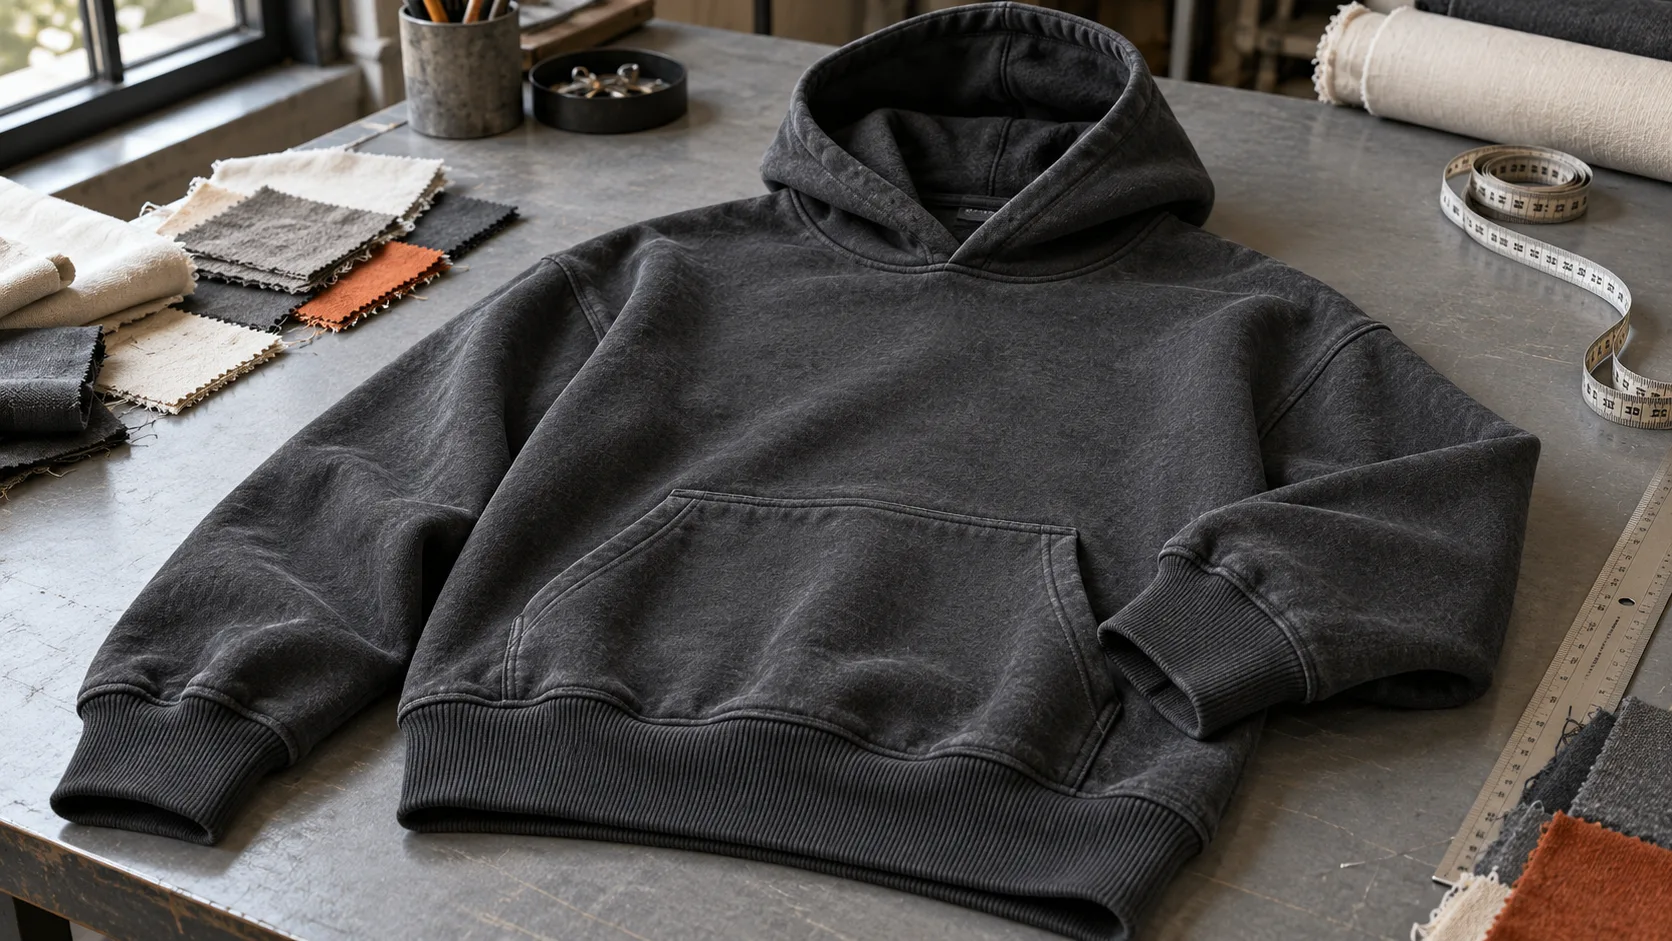
Two hoodies can use similar fabric and still look noticeably different. One may have a hood that sits upright, a compact pocket, and a waistband that draws the body inward. Another may have a softer hood, wider pocket openings, and a straighter hem.
These differences come from construction decisions that a reference image alone may not explain.
For a custom streetwear collection, defining the hood, pocket, cuffs, and waistband helps turn a general design direction into a garment that can be sampled and reviewed consistently. The aim is to describe the result you want while giving the manufacturer enough information to assess how it can be made.
1. Define the Hoodie Style Before the Details
Start by confirming whether the garment is a pullover or a zip-through hoodie. Then identify the intended silhouette: regular, relaxed, oversized, cropped, or another clearly described shape.
This establishes the context for the smaller components. A deep waistband may suit one silhouette but change the proportions of another. A large pocket can look balanced on a wide body and crowded on a narrower one.
Provide front, back, and side references where possible. Explain which details each reference illustrates rather than asking the manufacturer to combine several garments without further direction.
Keep the body measurement chart connected to the construction notes so component decisions remain consistent with the overall fit.
2. Describe the Hood Shape and Coverage
“Large hood” is a starting preference, not a complete specification.
Discuss how much coverage you want, how the hood should sit when worn, and how it should rest against the back when lowered. Review the opening shape, front overlap, depth, and attachment to the neckline.
Ask the manufacturer to explain the proposed hood construction, including the panel arrangement. If a particular seam layout is important to the design, show it clearly in a drawing or reference photograph.
Request a defined measurement method for any hood dimensions you record. Different starting points can produce different numbers even when the same sample is measured.
Evaluate the hood both raised and lowered during sampling. A flat photograph does not show how it frames the face or interacts with the neckline.
3. Confirm the Hood Lining and Opening Finish
Specify whether the hood should be unlined, lined with the body fabric, or lined with a different approved material.
Review the actual combination rather than judging the outer fabric alone. The complete construction affects the hood’s feel, weight, and appearance.
Also confirm how the opening will be finished and whether the design includes a drawcord. If it does, document the cord appearance, exit points, and end finish.
Do not add hardware simply because it appears in a reference image. Identify what you want to retain and ask the manufacturer to review its suitability for the intended product. For collections intended for children, arrange a separate review of applicable product requirements rather than copying an adult hoodie specification.
4. Give the Pocket Its Own Measurements
For a kangaroo pocket, record the overall width, height, opening dimensions, and location on the body.
Choose clear placement references, such as a defined distance between the pocket and waistband seam. State whether the pocket is centered on the garment and how its position should change, if at all, across sizes.
Consider how the pocket looks and works. Check whether the openings feel comfortable, whether the corners lie neatly, and whether the pocket interferes with a planned graphic.
If the hoodie uses separate pockets or a zip-through construction, document each relevant side. Do not assume a pullover pocket layout can simply be split without further development.
5. Specify Cuffs and Waistband Separately
Cuffs and waistbands may look similar, but they perform different roles and should have separate specifications.
For each component, define its finished depth and the relevant relaxed measurement. Ask how the rib material and construction will achieve the intended fit.
Explain whether the waistband should pull the body inward or allow a straighter silhouette. At the wrist, describe whether you want a close fit or a more relaxed opening.
Review stretch and recovery using the proposed material. Avoid specifying an arbitrary stretch target without an agreed test method or a clear reason for the requirement.
Approve the rib color alongside the body fabric, especially if the materials will undergo washing or other finishing.
6. Review the Components in the Finished Garment
A hood, pocket, or rib panel should not be approved only as an isolated detail.
Review the assembled sample in its intended finished condition. Check how the hood affects the neckline, whether the pocket remains level, and how the cuffs and waistband interact with the sleeves and body.
If washing or another finishing process is planned, confirm which measurements and appearance references apply afterward.
Record any concern precisely. For example, distinguish between a waistband that is too deep and one that pulls inward more strongly than intended. Those observations may require different revisions.
7. Check More Than the Base Size
Component proportions may need review across the size range.
Ask which hood, pocket, cuff, and waistband dimensions will change with garment size and which will remain constant. Record the agreed approach instead of assuming every component scales in the same way.
Use drawings or measurements to review the smallest and largest sizes. Where a detail remains uncertain, discuss whether an additional sample is needed.
The objective is a consistent design language across the collection, with usable openings and balanced proportions in the sizes you intend to sell.
8. Prepare a Construction Approval Sheet
Bring the decisions together in one current document:
- Style reference and approved body measurements.
- Hood construction, lining, and opening details.
- Pocket dimensions and placement references.
- Cuff and waistband measurements.
- Material and color references.
- Size-specific changes.
- Agreed tolerances and measurement methods.
- Sample version, approval date, and unresolved points.
Ask the manufacturer to confirm open questions before the next sample or production stage. Keep the approved sheet with the corresponding photographs so later revisions do not rely on memory.
Discuss Your Custom Hoodie with GRAPHFORGE
Share your hoodie references, size chart, preferred materials, and construction priorities with GRAPHFORGE when preparing an inquiry.
Identify the details that define your collection and those you are still exploring. Clear hood, pocket, and ribbing specifications provide a practical starting point for discussing sample development and production feasibility.
Ready to start your production run?
Send us your design, quantity and target delivery date. We will reply with a clear quote and a sample timeline within 48 hours.