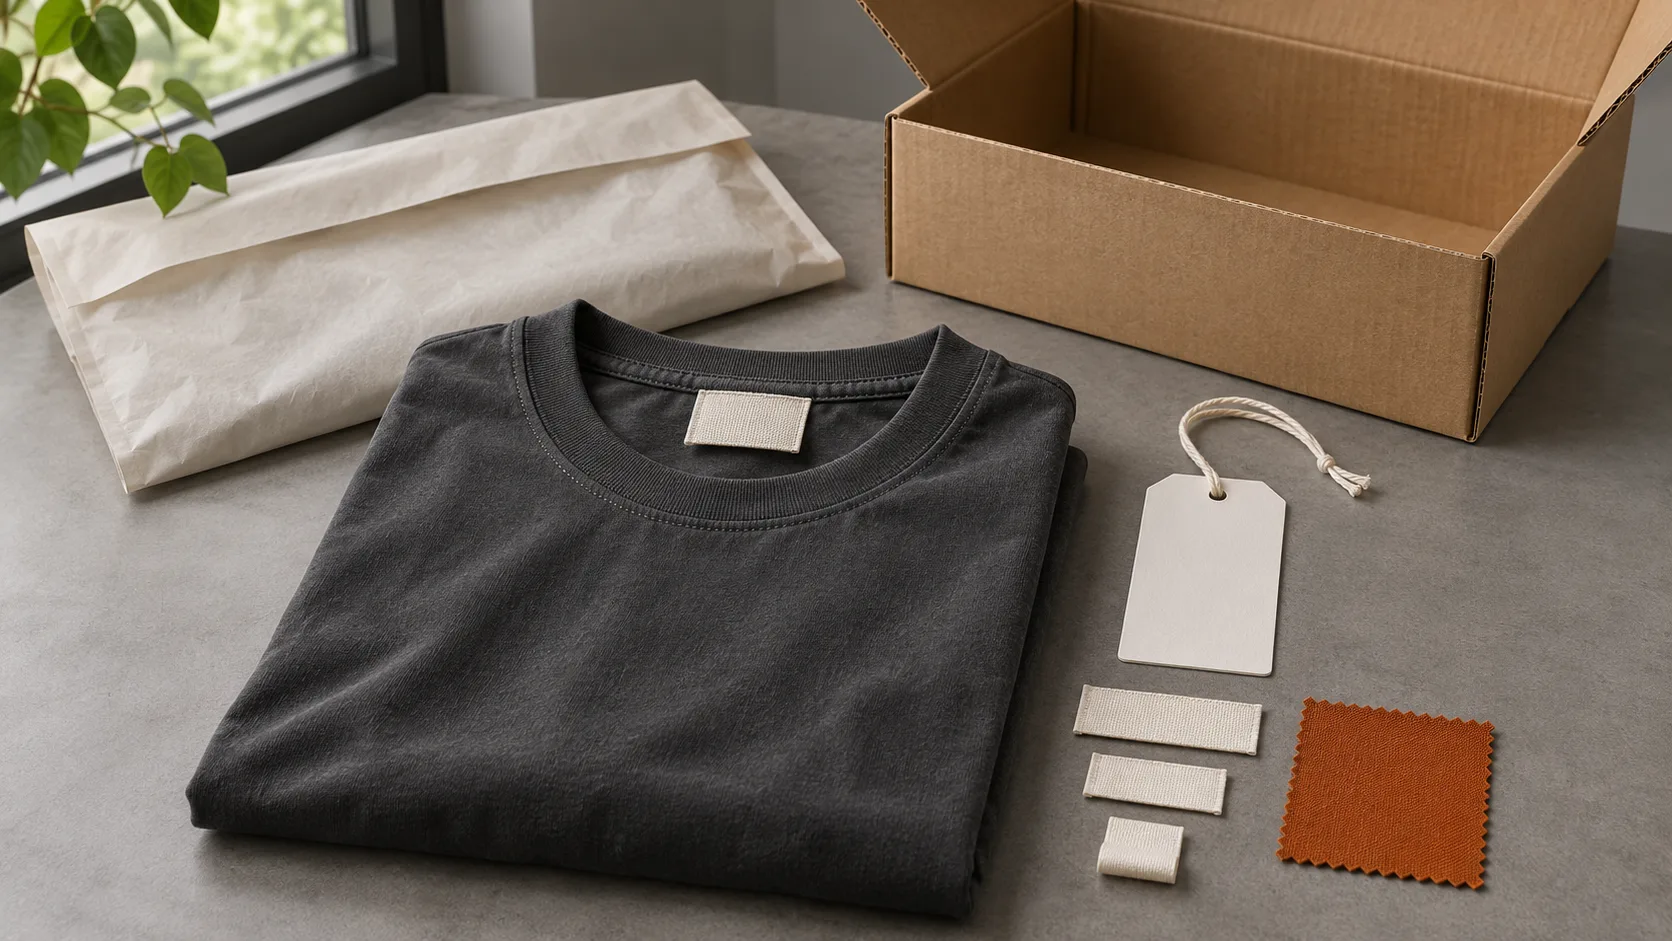
A finished garment needs more than an approved fit and graphic. The neck label, size identification, hangtag, and packaging also need to match the product and the order.
These components are easy to discuss separately and difficult to coordinate when decisions remain scattered across messages. A revised logo may reach the label supplier but not the hangtag supplier. A packaging label may show an older style name. A mixed-size order may arrive without clear identification on the outside of each package.
A simple labels and packaging plan helps connect these details before production. This guide focuses on practical coordination rather than prescribing one packaging format for every streetwear collection.
1. Create a Complete Component List
Start by listing everything that will accompany each garment.
Depending on the project, this may include a brand label, size label, product information label, hangtag, attachment cord, individual wrapper, sticker, or outer carton marking.
For each component, record whether it is required, optional, or still undecided. Identify who will supply it and who will approve it.
Do not assume that “private label packaging” includes every item shown in a reference photograph. Ask for a quotation that identifies the included components so you can compare proposals on the same basis.
Keep undecided items visible rather than allowing a blank field to be interpreted as approval to choose a default.
2. Give Each Artwork File a Clear Identity
Use a consistent naming system for label, hangtag, and packaging artwork.
Include the brand, component, version, and date in the file name. Record the approved file in your component list, and remove ambiguity about which version replaces an earlier one.
Specify the finished dimensions, colors, and orientation for each item. A logo file alone does not explain the final label size or the amount of space around the design.
Ask the manufacturer which file formats are needed for the proposed production method. Where small details may be difficult to reproduce, review a physical sample or suitable production proof before approving the full quantity.
3. Separate Branding from Product Information
A decorative brand label and a label containing product information serve different purposes.
Keep the approved brand artwork separate from the information that changes by product, material, size, or destination. Assign responsibility for reviewing each part.
Do not copy composition details, care instructions, or other product statements from an unrelated garment. Confirm the actual product information and arrange any necessary destination-specific review before printing.
This planning sheet is not a substitute for that review. Its purpose is to ensure that the correct, approved information reaches the correct component without being lost among branding revisions.
4. Define Label Placement and Attachment
Document where each label belongs and how it will be attached.
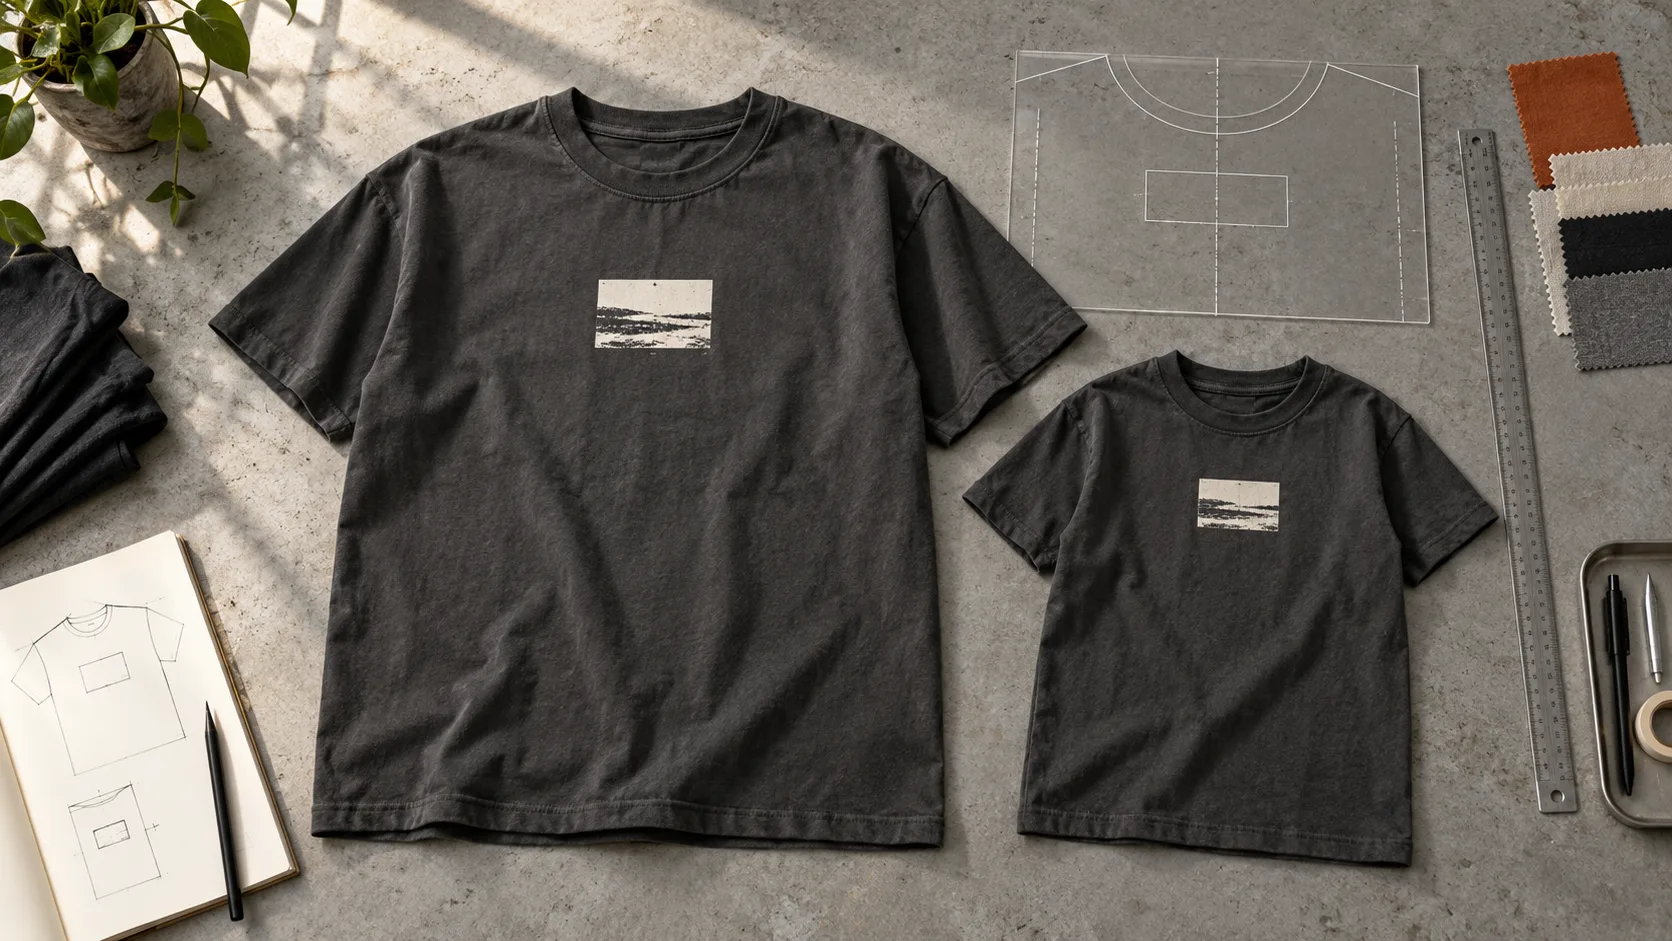
Use a marked garment drawing or sample photograph to identify the location. State the intended orientation and whether the label should remain visible when the garment is folded.
For sewn labels, discuss the proposed construction and review the attachment on the garment. Check the appearance of the surrounding seams and how the label feels during wear.
If you want a printed neck identification instead, discuss its suitability for the selected fabric and finish. Do not treat a sewn label and a printed application as interchangeable without reviewing the result.
5. Keep Size and Style Identification Consistent
Use the same size names and style references across the order sheet, garment labels, packaging labels, and packing list.
If the garment is marked “XL,” avoid an unexplained switch to another size system on its wrapper. If a style name changes, identify every affected component before approving the revision.
Create a small matching table showing the garment reference, size, color, and corresponding package identification. This is especially useful when several similar-looking colors or silhouettes are included in one order.
Check the sample as a complete unit: garment, attached labels, hangtag, and wrapper. Reviewing those items separately can hide a mismatch.
6. Choose Packaging Around the Actual Garment
Select packaging after considering the folded garment, rather than choosing dimensions from an attractive reference image alone.
Review the folded width, length, thickness, and any components that need protection. Ask for a packed sample using the intended garment and packaging material.
Check whether the closure works comfortably and whether the garment is excessively compressed or left moving around inside.
Consider the handling process as well. If a warehouse needs to identify a size without opening the package, specify how that information will be presented.
Avoid adding environmental claims to packaging artwork unless the wording has been appropriately verified for the actual material and intended use.
7. Reconcile Component Quantities
The garment quantity and component quantity need a clear relationship.
Confirm how many labels, hangtags, wrappers, and stickers are required for each finished unit. Then discuss any additional quantities needed for sampling, setup, replacements, or agreed spare stock.
Record how remaining components will be handled. Will they be returned, retained for a repeat order, or managed another way?
For components that differ by size or color, check the breakdown rather than approving only a total. A sufficient overall label quantity does not help if the required sizes are missing.
Ask the supplier to flag any component minimums that affect the proposed order.
8. Approve the Packing Sequence
Write a short packing instruction showing the order of operations.
For example, identify when the garment is folded, where the hangtag sits, how the wrapper closes, and which identification remains visible. Add photographs of an approved packed sample where useful.
Confirm how finished units should be grouped in cartons and how the packing list will describe those groups. Agree on any carton size or weight requirements with the relevant logistics team.
Before shipment, review the packed product against the current component list and approved sample. A correct garment still needs the correct labels and packaging attached to it.
Prepare Your Branding Brief for GRAPHFORGE
For your next custom streetwear inquiry, share your component list, approved artwork, garment size breakdown, and preferred packaging references with GRAPHFORGE.
Mark which details are confirmed and which require discussion. A coordinated brief provides a practical starting point for reviewing labeling, packaging, sampling, and production feasibility.
Ready to start your production run?
Send us your design, quantity and target delivery date. We will reply with a clear quote and a sample timeline within 48 hours.