A T-shirt can meet its measurements when it arrives and still feel different after laundering. A boxy style may lose the body length that makes it work, while a fitted tee may feel tighter across the chest even if the hem still falls where expected. Checking one dimension alone can miss the change that matters most to the wearer.
A useful wash review starts with the finished garment, follows an agreed wash and dry routine, and compares the same measurement points before and after. Here is how to set up that review for a custom T-shirt order.
1. Start with the garment you intend to sell
Identify the sample by style, size, color, fabric reference, and revision. Note which production finishes it has already received. If your design includes a garment wash, the starting point for this review should be the finished T-shirt after that production step. The later wash is the one used to assess how the delivered garment may change with care.
If you are comparing two fabric or construction options, give each sample its own record. A result from one version is useful for comparing those samples. Carrying it forward to a revised version requires another review, especially when the fit depends on a small difference in length or width.
2. Mark the measurements that define the fit
Choose the points that matter to your silhouette. For a cropped tee, body length and the way the hem sits may be especially important. For an oversized tee, check chest width and sleeve length alongside body length so you can see whether the proportions still work together.
Use a simple sketch or marked photo to show where each measurement starts and ends. For example, specify whether body length starts at the high shoulder point next to the neck seam or at the center back neckline. For chest width, define the distance below the armhole and whether you are recording the flat width. Use the same convention throughout the worksheet.
Lay the garment flat on a level surface and smooth it without pulling it into shape. Measure the same sample at the same points after washing and drying. If two people will take the measurements, have them measure the unwashed sample together once to confirm they are following the same instructions.
3. Agree on a wash and dry routine before testing
Write down the wash program, temperature setting, drying method, and number of cycles you want to assess. Choose the routine with the product’s intended care instructions in mind and record any change from the agreed procedure. If one review uses air drying and another uses a tumble dryer, record the results separately.
Agree on when to take the final measurements. For an internal comparison, use the same resting conditions and interval for every sample and measure the garments only when dry. If your team needs a formal test report, agree on the test method and reporting requirements with the laboratory or inspection provider. Keep internal screening results clearly identified in your records.
4. Record the direction and size of each change
Keep the starting measurement, final measurement, and difference in the same row. Use a negative value for a decrease and a positive value for an increase. To calculate the signed percentage change, subtract the starting measurement from the final measurement, divide by the starting measurement, and multiply by 100.
Here is a hypothetical example for one sample.
| Measurement point | Before | After | Difference | Change |
|---|---|---|---|---|
| Body length | 72.0 cm | 70.2 cm | −1.8 cm | −2.5% |
| Chest width, flat | 56.0 cm | 55.3 cm | −0.7 cm | −1.25% |
| The example shows why each measurement deserves its own row. The body lost more length than width. A buyer might still accept the chest width and request a revision to the body length. The figures illustrate the calculation. Set acceptance limits for your own style with the supplier. |
5. Check how the garment hangs after washing
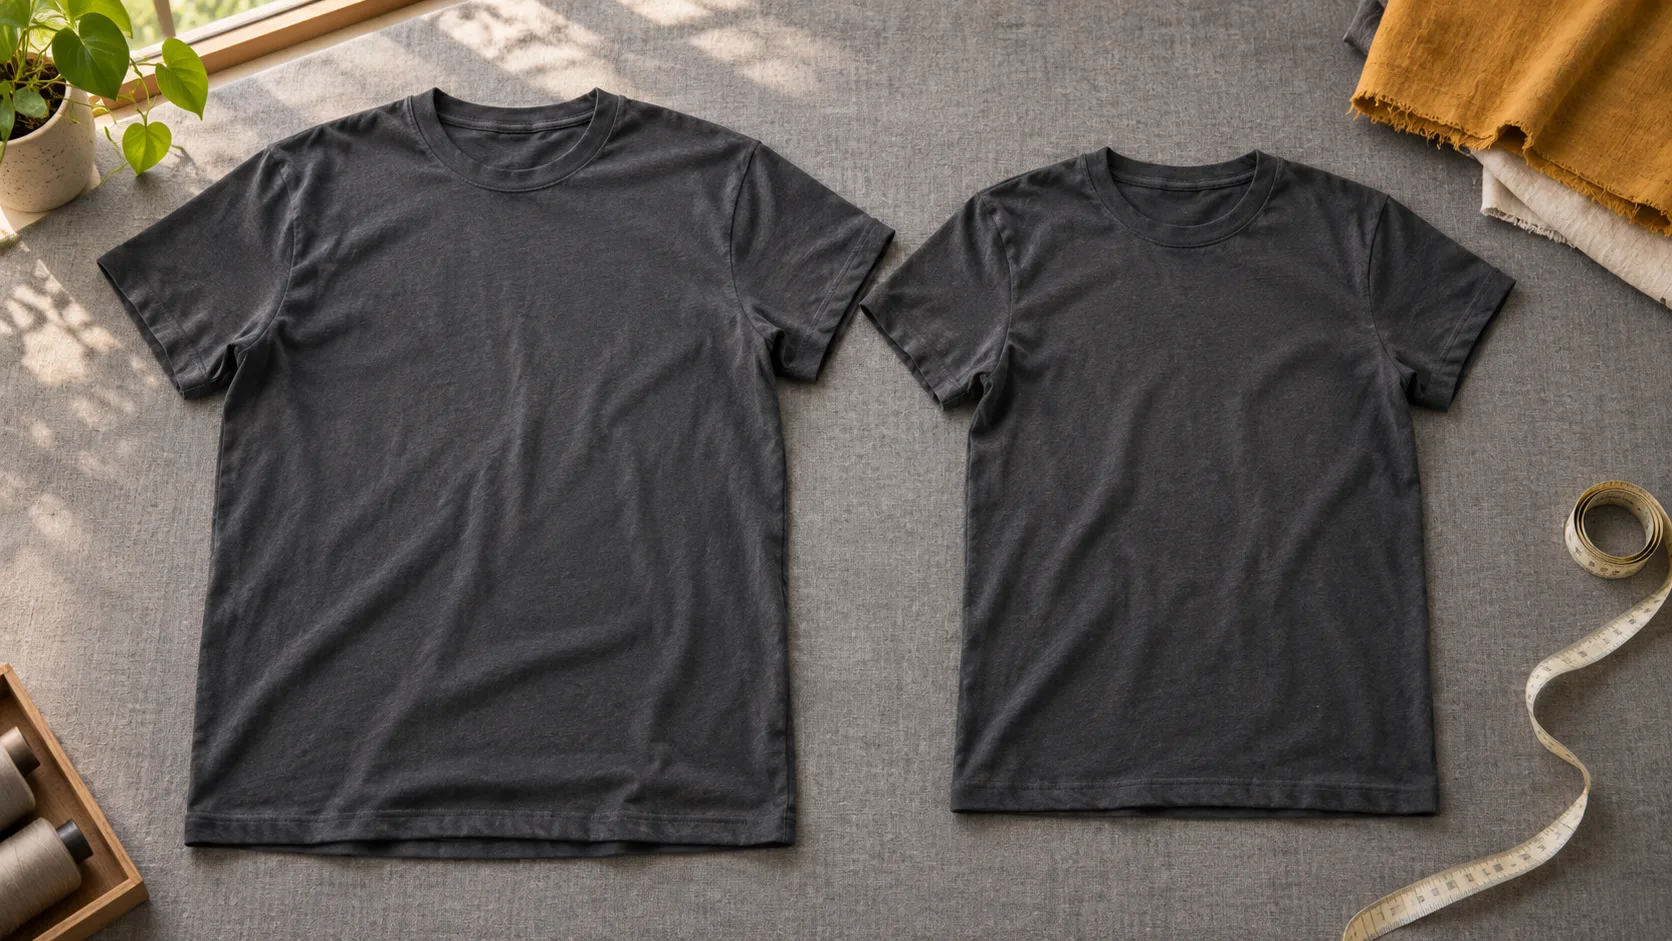
Lay the washed tee beside its prewash photos or an unwashed reference from the same sample version. Look at the neckline, sleeves, hem, and side seams. Record whether the body appears skewed, whether the hem sits unevenly, or whether the neckline has changed shape. Use consistent photos to document the difference.
Then repeat the fit check under comparable conditions. Ask the wearer to raise their arms and sit down as well as stand. Write down the practical consequence of any change. “The hem now lifts above the intended waistband during movement” gives the pattern team a clearer revision to investigate than “the tee shrank.”
If the change appears on only one sample, agree on what to retest before adjusting the pattern. If you revise the pattern or change the material, compare the new version using the same recorded procedure.
6. Write two sets of acceptance criteria
Use one set for the measurements of the finished, unwashed garment and another for what you will accept after the agreed care routine. State which points matter most, how the result will be measured, and which appearance changes should trigger a review. A single percentage for the whole garment leaves too much open to interpretation.
Before approving production, keep the measurement sheet, sample ID, wash and dry record, photos, and decision together. Mark which sizes or colorways you reviewed and which remain open. If a particular length is central to the design, include that point in the check for any revised sample.
For a custom T-shirt inquiry with GRAPHFORGE, share your size chart, intended care routine, and the fit details you want to preserve. A completed measurement sheet gives both sides a concrete reference for discussing sampling and production requirements.
Ready to start your production run?
Send us your design, quantity and target delivery date. We will reply with a clear quote and a sample timeline within 48 hours.