A sample arrives, and the overall direction looks promising. Yet the sleeves feel too narrow, the back graphic sits too low, and the neckline does not match the reference. Writing “please improve the fit” leaves too much open to interpretation. A useful sample review turns those observations into specific, traceable instructions.
This guide explains how to prepare revision notes for custom T-shirts, hoodies, and other streetwear garments, so your next sample addresses the actual problems without losing details you already approved.
1. Identify the Exact Sample Under Review
Begin with the style name, sample size, color, sample version, and review date. If several garments are being developed together, create separate notes for each style. A comment about one hoodie should never be mistaken for an instruction covering the entire collection.
Include a full front and back photograph before adding close-ups. Name the images consistently, such as STYLE01-V1-FRONT. These simple references make it easier to connect each instruction to the correct garment.
2. Compare Measurements Before Describing the Fit
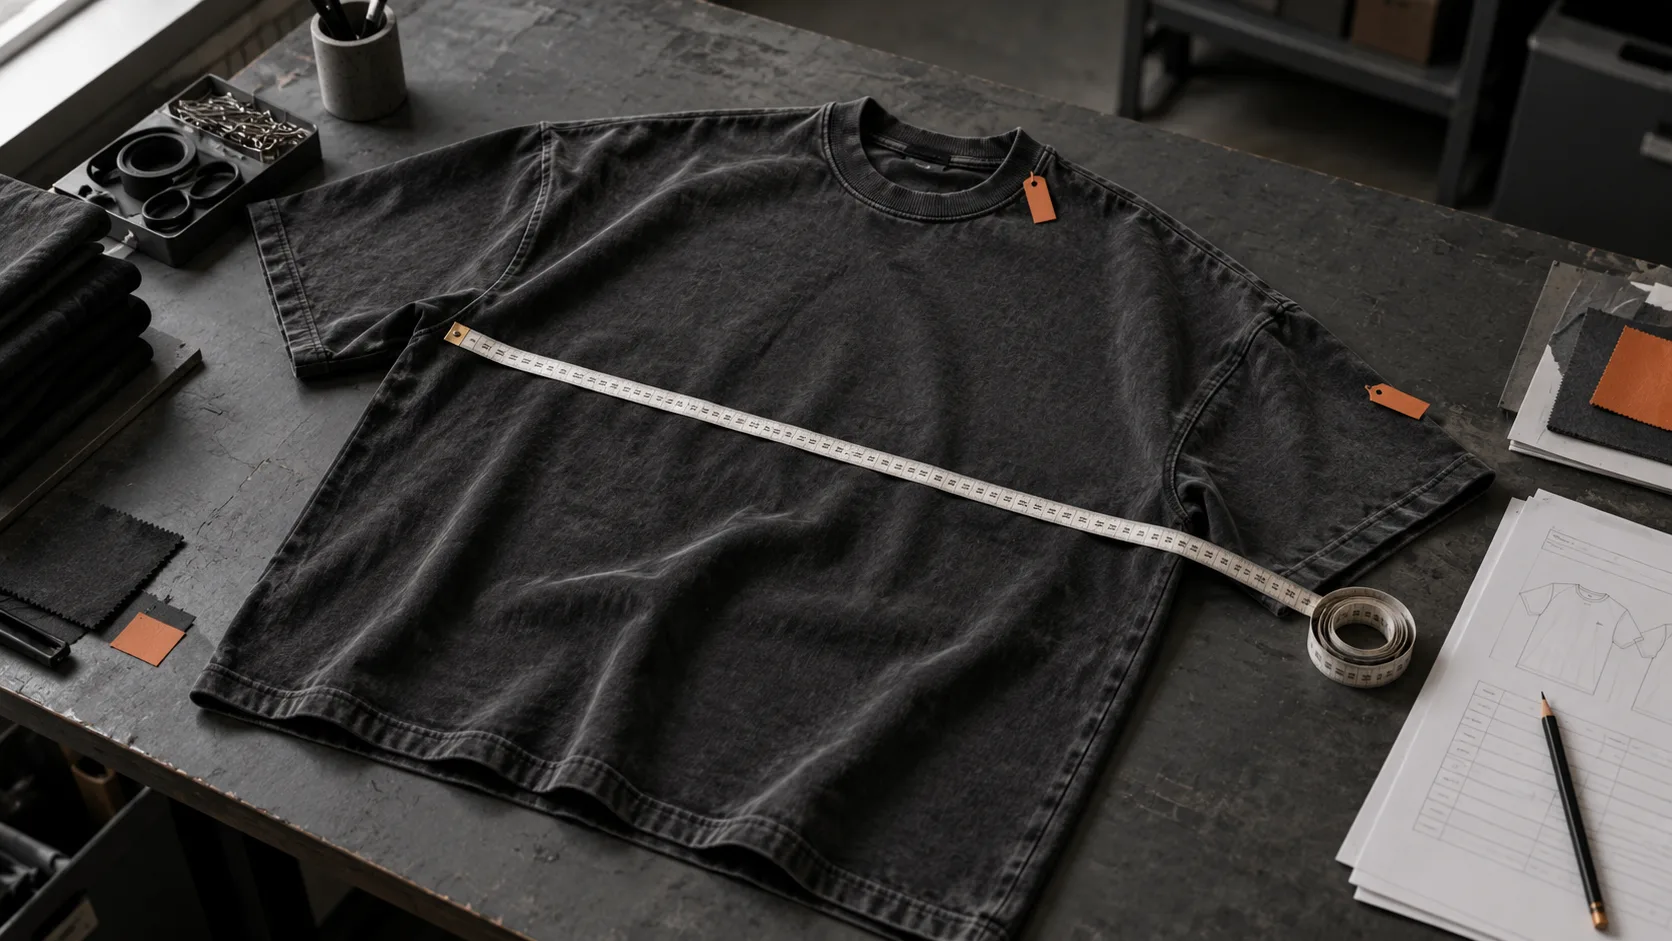
Lay the garment on a flat surface without stretching it. Follow the same measurement method used in the agreed specification sheet. Record the target measurement, the sample measurement, and the requested next-sample measurement for each point you review.
For example, a hypothetical note might read: “Half-chest target: 62 cm. Sample measures: 60 cm. Please revise to the agreed 62 cm target.” These numbers are an illustration, not a recommended size chart.
Define ambiguous measurement points. Body length measured from the high shoulder point is different from length measured from the center-back neck. Sleeve length also changes depending on whether it starts at the shoulder seam or another reference point. Ask the manufacturer to confirm the method before changing the pattern.
3. Separate Fit Changes from Fabric Comments
A garment can measure correctly while feeling different from your reference. Fabric drape, stiffness, stretch, and finishing all affect how a silhouette appears. Do not immediately increase body width if the underlying issue may be a different fabric hand feel.
Write fit and material observations separately. For example: “Keep the approved body width. The sample fabric feels firmer than the reference swatch; please review material and finishing options before changing the pattern.” This gives the production team a clearer problem to investigate.
When reviewing on a person, record the sample size and relevant wearer measurements, and photograph consistent front, side, and back views. Treat those images as supporting evidence alongside the measurement chart.
4. Give Graphics a Measurable Position
“Move the print up” does not establish how far it should move or where the measurement begins. Specify the artwork width and height, its relationship to the garment centerline, and a clear placement reference.
A practical revision might say: “Keep the approved artwork width. Reduce the distance between the back neckline seam and the top of the artwork by 2 cm.” State whether the instruction applies only to the reviewed size or to every size.
Also distinguish the artwork boundary from visible ink. A design file may include transparent margins that affect placement if the team measures from the file edge. Attach a marked mockup and ask the manufacturer to confirm the reference used.
5. Describe Construction Issues Individually
Review neckline shape, ribbing, shoulder seams, hems, pockets, cuffs, and other relevant details. Use one numbered comment per issue, with a close-up photograph where useful. Avoid placing unrelated instructions into a single paragraph.
Describe what you can observe rather than guessing at the cause. “The left pocket opening sits higher than the right when laid flat” is more actionable than “the sewing machine is wrong.” Ask the manufacturer to investigate and propose a correction where the technical solution is unclear.
Keep aesthetic preferences separate from defects. A wider rib collar may be a design change, while an uneven collar attachment is a construction concern. Both need attention, but they require different decisions.
6. Review Washing and Color with a Consistent Reference
Photograph washed garments in consistent lighting and avoid filters. Phone photographs can help explain differences, but they should not be the only basis for approving a subtle color or wash effect.
Identify the physical reference where available, and describe which aspect needs adjustment: overall tone, contrast, fade placement, softness, or another characteristic. For intentionally variable finishes, discuss the acceptable appearance range instead of expecting every garment to be visually identical.
Confirm whether measurements were taken before or after the relevant finishing process. If a revision changes washing or fabric, ask whether fit and graphic appearance need another review before approval.
7. Mark What Is Approved and What Remains Open
Revision notes should protect successful details as well as identify problems. Mark each reviewed element as approved, revise, or pending confirmation. For example, approve the fabric color while requesting a sleeve-width change and leaving packaging undecided.
Use a compact revision log containing the comment number, affected detail, requested action, and current decision. Ask the manufacturer to acknowledge each instruction and flag any conflict before making the next sample.
Finish with a clear approval statement. If the sample is approved only for fabric and color, say so explicitly. Partial approval should not be interpreted as permission to begin bulk production.
A Simple Sample Feedback Checklist
- Identify the style, sample version, size, and color.
- Attach numbered full-garment photographs and detail images.
- Record target and actual measurements using agreed methods.
- Separate fit, fabric, graphics, construction, and finishing comments.
- Specify exactly which details must remain unchanged.
- Ask for written confirmation of revisions and unresolved questions.
- Record the final approval scope before authorizing production.
Prepare Your Next Sample Review with GRAPHFORGE
For your next custom streetwear inquiry, share your reference garment, measurement sheet, artwork, and numbered sample comments with GRAPHFORGE. Include your intended quantity and the details that matter most to your brand. Clear review notes create a shared reference for discussing revisions, sampling requirements, and production feasibility.
Ready to start your production run?
Send us your design, quantity and target delivery date. We will reply with a clear quote and a sample timeline within 48 hours.